Get a firm grip on finger and forearm techniques
Have you ever noticed your fingers cramping or forearms slipping along the surface of the client’s skin when attempting to apply deep tissue techniques? For several years, I observed that some class participants were struggling with this but was unsure how to offer specific guidance. The answer came unexpectedly one year at a Costa Rica workshop when a student asked if I would slowly perform each of the extended finger and forearm maneuvers in a step-by-step fashion. Wow, what a novel and seemingly obvious idea — why had I not thought of this before? I realized I had been doing these maneuvers so long I had simply skipped over a few very basic principles. In this blog, I’ll deconstruct several hand and forearm maneuvers I now teach in every workshop and online course. These maneuvers will help you deliver a deeper touch with less effort and better body mechanics.
Nail Hook Technique
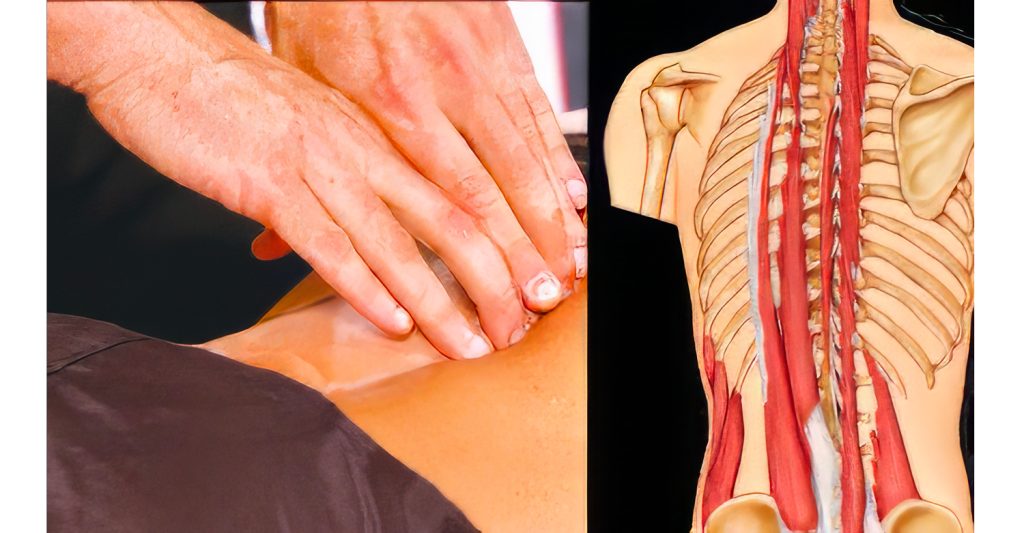
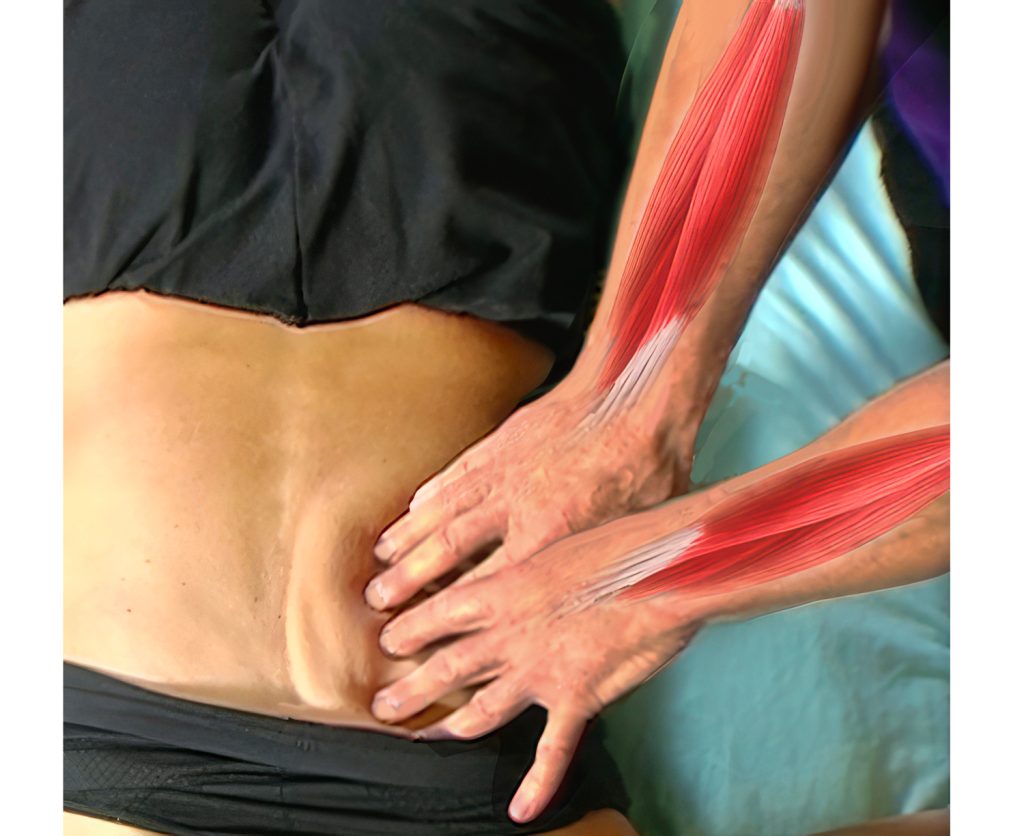
Back in the early ’80s, during my basic Rolf Institute® training, I developed an odd routine of performing finger push-ups after class to improve my finger strength and stamina, but it seemed to make little difference. I was never able to get a good, sturdy “hook” in the connective tissues underlying the skin. One day it occurred to me that if I flexed my fingers and engaged the tissues as if I were digging in with fingernails and then extended my fingers, I was able to get a much firmer lock that allowed me to lean in with my body weight instead of sliding along the skin with finger pads.
As I practiced this maneuver, I noticed that as I extended my fingertips at the distal interphalangeal joints, it transferred the energy through my forearm extensor muscles instead of my flexors — and that was a big discovery I applied to all my hands-on techniques. Now when I engage the tissues and get a good hook, I immediately firm up my forearm extensors to allow the energy to come through my body and down into the ground, making my stroke more controllable and confident
The Flying V
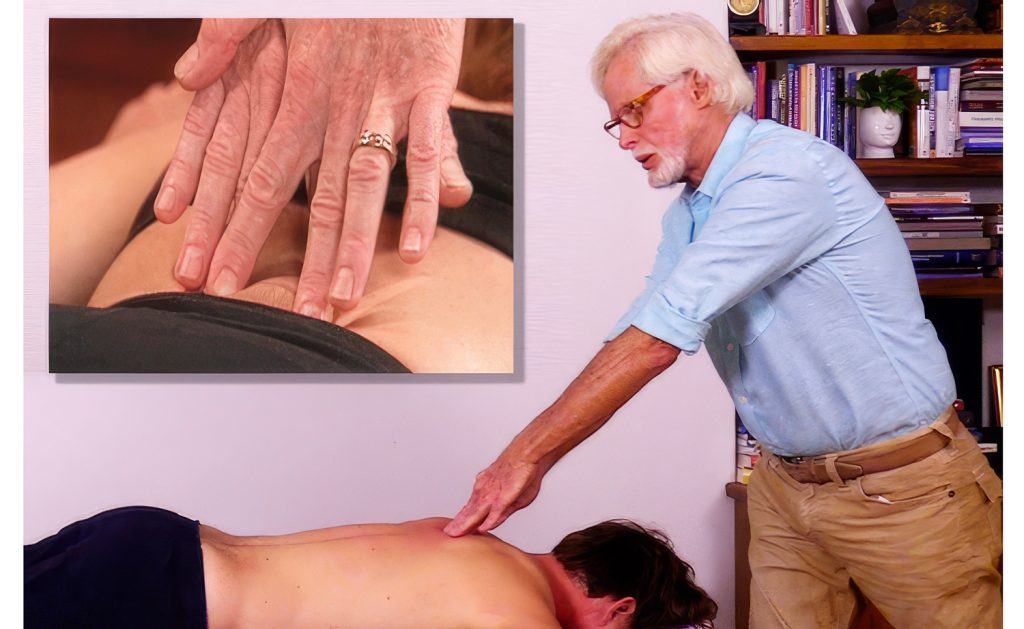
This is one of my favorite extended finger techniques. It’s performed using the same principles as the Nail Hook above but designed to add additional power and precision to areas that require bilateral pressure to confined spaces. Notice in Image 3. that I begin by placing my index and middle fingers on each side of the client’s lamina groove and then reinforce by bracing with the index and middle fingers of my other hand. I firm up my forearm extensors, relax my shoulders, and lock in my lumbar lordosis so I can have a good mechanical advantage as I slowly glide down the transversospinalis muscles of the lamina groove. Typically, I’ll ask my client to begin performing slow anterior and posterior pelvic tilts to help engage the brain in releasing any protective spasm in these short rotator muscles. The goal is to restore proper spinal curves while decreasing nervous system hyperexcitability.
Ulna Hook
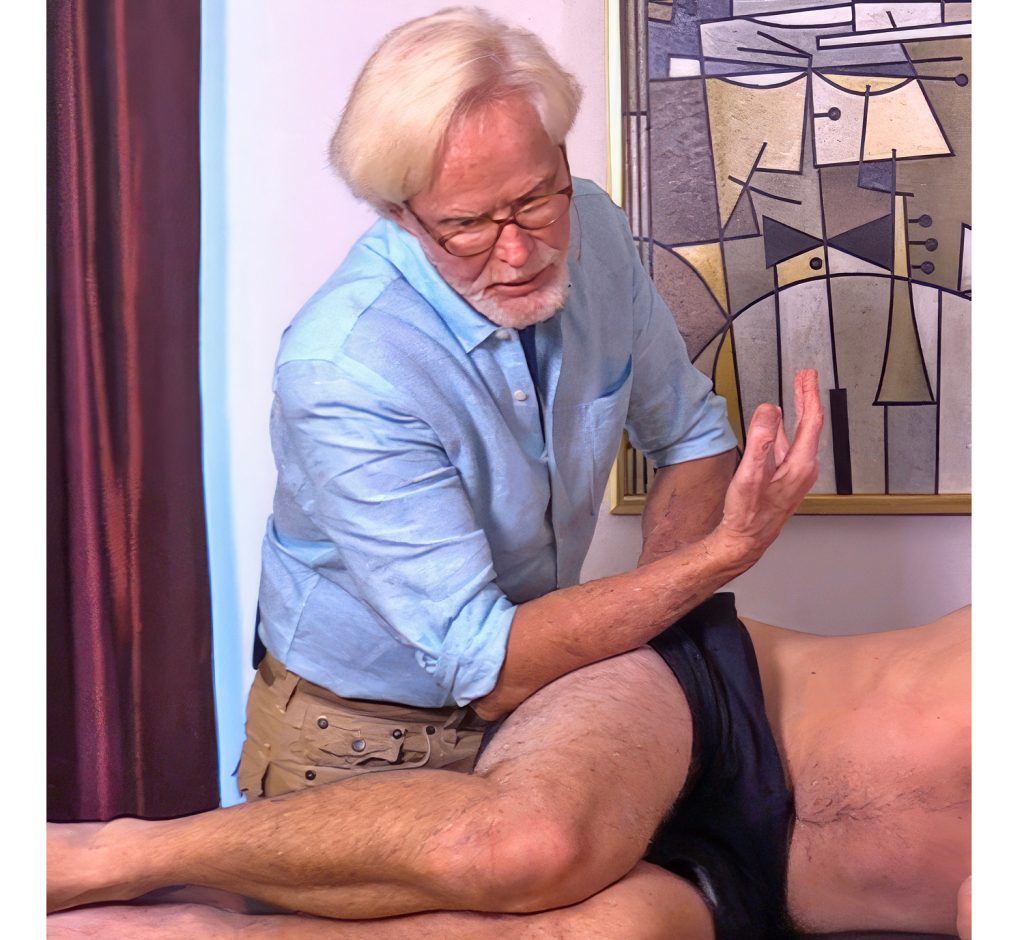
Forearm techniques are a favorite of mine. For years I’ve experimented with ways of getting a better tissue hook to help prevent slipping and sliding, and this is what I’ve come up with. Notice in Image 4, that I begin the technique with my forearm supinated (palm up). As I engage the lateral border of IT-band with arm in this supinated position, I’m able to get a really good Ulna Hook, allowing me to sink to the tissue’s first restrictive barrier. Once I feel I’ve achieved a sturdy tissue lock with energy flowing through my legs, I slowly begin pronating my entire forearm, moving distally all the way to the lateral knee as the client slowly pelvic tilts back and forth.
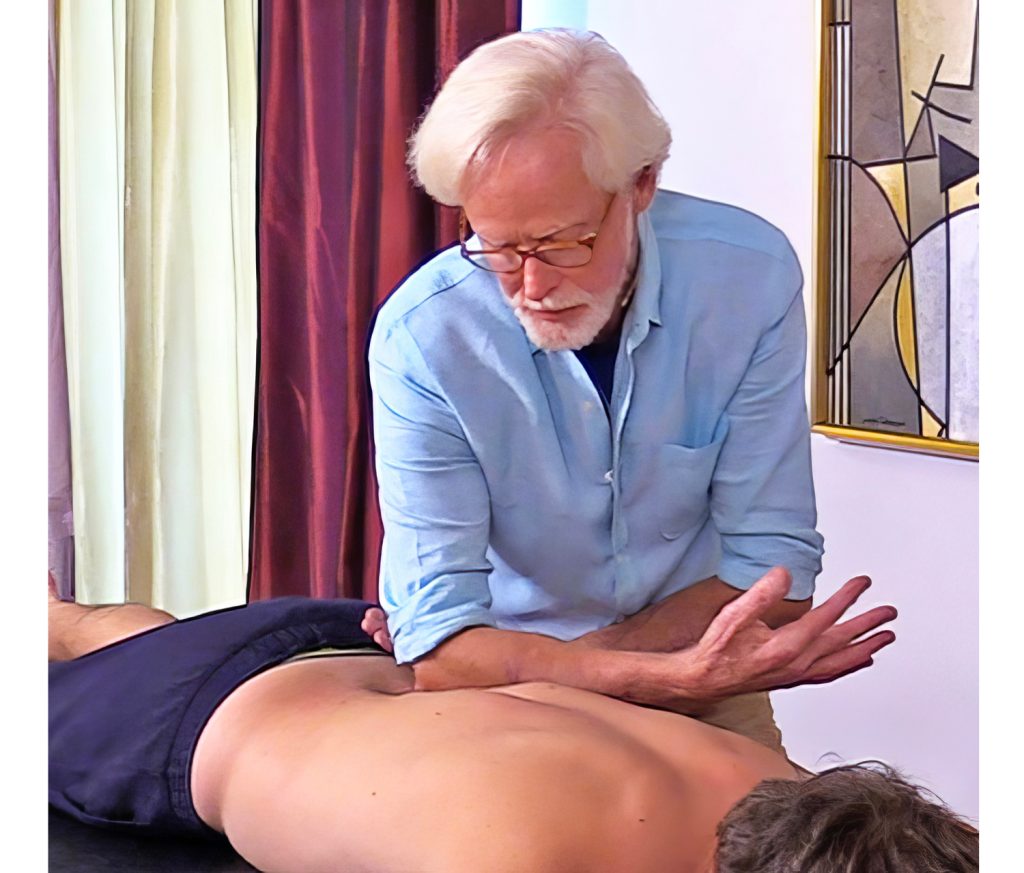
Another way to creatively use this Ulna Hook is with the windshield wiper technique. In this variation, I first place my olecranon bone softly in the ipsilateral lumbar lamina groove, then supinate and hook with my ulna bone. As I traverse headward with my ulna at the lateral border of the ipsilateral erectors (Image 5.), I begin pronating my forearm so my flexor muscles can sweep the erector spinae muscles back toward the midline to offer additional thoracic spine support. This is a powerful nervous system stimulating technique that can be applied to a variety of connective tissues.
Deepen your practice
To be clear, some very therapeutic massage techniques are designed to glide on the skin’s surface, and I encourage you to continue applying those strokes. At the same time, I think you’ll find it beneficial to incorporate the Nail Hook, Flying V, and Ulna Hook into your bodywork practice to address the deeper neuromyofascial structures.
On sale this week only!
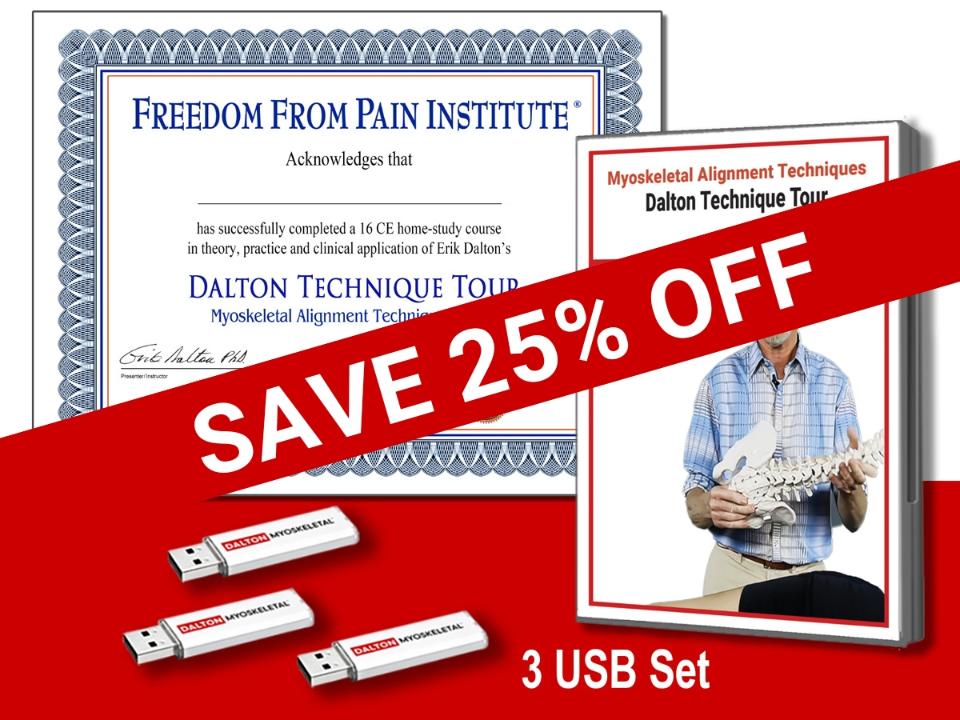
Save 25% off the Dalton Technique Tour course!
NEW! USB enhanced video format
Discover deep tissue, pin and stretch, nerve mobilization, and graded exposure stretches in this comprehensive “technique only” program. Upon completion, you will receive 16CE hours and a certificate of completion to display in your office. Save 25% this week only. Offer expires Monday, January 19th. Click the button below for more information and to purchase the course.
BONUS: Order the home study version and get access to the eCourse for free!
