Introduction
Erik Dalton was a strong advocate for using the sidelying position and created a series of innovative sidelying techniques empowering therapists to move beyond symptom relief and deliver transformative therapeutic experiences. He taught that sidelying enhances client comfort, improves therapist body mechanics, and enables more dynamic and precise technique application.
Client Comfort: The sidelying position is ideal for clients who find it uncomfortable to lie prone or supine, such as pregnant women, older adults, or clients with certain spinal or respiratory issues. Often, clients seeking clinical bodywork are looking for relief from chronic pain, injuries, or biomechanical issues that make it impossible to receive therapy in a prone or supine position. Erik felt that well-trained practitioners can offer effective treatment to clients in any position that promotes client comfort.
Improved Body Mechanics: Erik also emphasized the importance of maintaining good body mechanics to prevent therapist injury and burnout. He developed his sidelying techniques focusing on optimal leverage and counterforce movements that allow therapists to work deeper with less effort.
Movement and Functional Techniques: For most therapists, however, the standout benefit of sidelying massage is the freedom it offers for movement and functional techniques. By positioning clients on their side, the therapist can easily mobilize joints and perform movement-based approaches. Therapists have access to the lateral structures of the body, including the iliotibial band, lateral hip rotators, and intercostal muscles. Sidelying also allows therapists to provide a movement-oriented approach to addressing shoulder and neck pain.
A Sampling of Erik’s Sidelying Techniques
The methods I’ll share here are some of my favorites from Erik’s extensive body of work. Organize a practice session with a willing massage colleague and try them. It’s just as important to experience these techniques as apply them. You’ll value them more when you understand how effective and comfortable they feel.
Quadratus Lumborum (QL) Stretch
With the client on their left side, ask them to reach their right arm over their head to grasp the top of the therapy table. The client’s bottom knee is bent, and their top right leg is straight and extended slightly off the table. Stand behind the client and grasp their iliac crest while bracing their hips with your forearms. If you need a barrier between your body and the client’s body, place a pillow across the client’s hips and grasp around the pillow. Drop your weight back to traction the hip to release the QL and open up the body’s lateral line within the client’s level of comfort. Ask the client to pull up on the therapy table with the hand grasping the top of the table to a count of five and then relax. Repeat this technique three times, and on the opposite side of the body when you turn the client to the other side.
Windshield Wiper Technique
This technique is part of Erik’s routine for the thoracic spine. With the client on their left side with their knees bent, sit on the table and grasp the client’s hip with your left hand. Place your right palm on the table near the mid-back. Your right forearm hooks the lumbar tissue and sweeps towards the client’s head while your left hand braces the pelvis, creating a counterforce movement. Make three to five sweeps to decompress the thoracic spine and ribcage. Repeat this technique on the opposite side of the body when you turn the client to the other side.
Scrubbing the Facet Joints
With the client on their left side and their knees bent, use your left hand to contact the client’s head. Place your right thumb in the lamina groove with moderate pressure. Flex the client’s head while your right thumb presses towards the client’s head, searching for tight spots that resist your thumb. When you find areas of resistance, drop your thumb into the tissue and compress it while you flex the client’s neck. Make several passes along the groove of the thoracic spine. Repeat this technique on the opposite side of the body when you turn the client to the other side.
Humeral Head Drop
This technique is part of Erik’s routine for addressing upper-crossed syndromes, deltoid shear, and rotator cuff injuries. It improves glenohumeral mobility. Stand at the head of the therapy table. With the client on their left side, lift their right arm by grasping their wrist with your left hand and bring the client’s arm into 90 degrees of abduction. With your right hand, cup the humeral head as shown. Ask the client to gently pull their elbow towards their right hip while you resist to a count of five and then relax. This gentle counterforce stretches the deltoid fascia and drops the humerus into the bottom part of the glenoid fossa. Apply this technique three times so long as it doesn’t cause discomfort. Repeat this technique on the opposite side of the body when you turn the client to the other side.
In Closing
As we close, I hope practicing a few new sidelying techniques feeds your enthusiasm for the sidelying position and encourages you to use more movement during sessions. While this position is essential to ensure comfort for some clients, it also enables dynamic technique application and transformative therapy.
On sale this week only!
Save 25% off the Posture Pain Performance course!
NEW! USB version with enhanced video
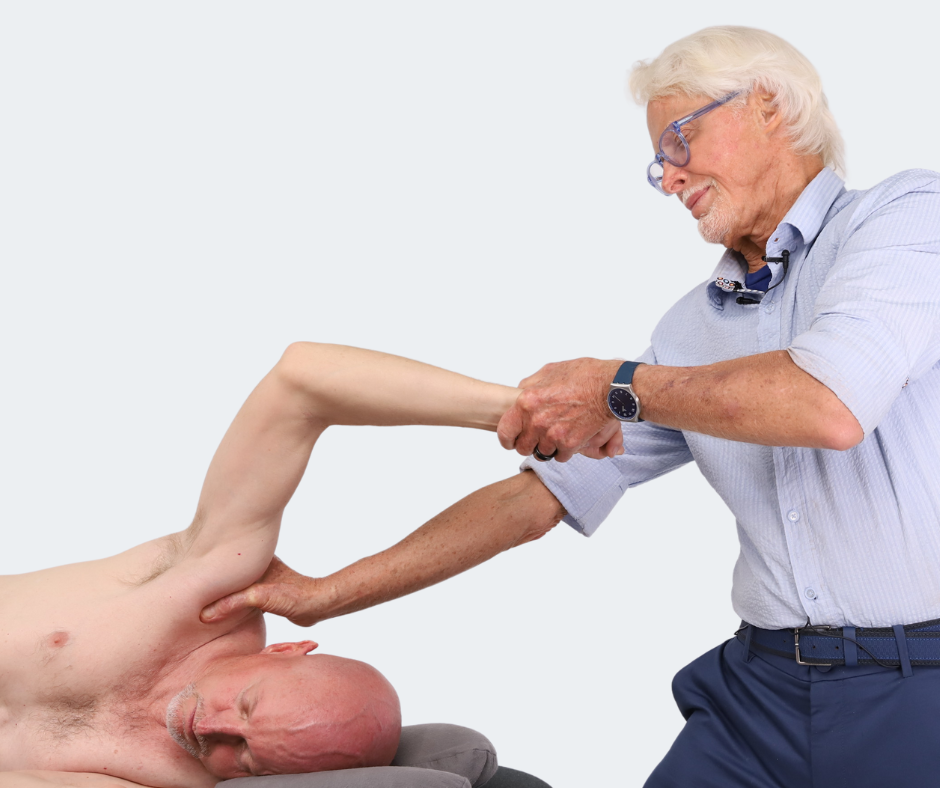
Discover the foundational principles behind MAT technique as we take you on an in-depth look at the connection between pain, posture and function. Save 25% off the Posture Pain Performance course this week only. Offer expires Monday, January 26th. Click the button below for more information and to purchase the course. Upon completion receive 20CE hours and a certificate of completion to display in your office.
Bonus: Order the Home Study version and receive the e-Course for FREE!


