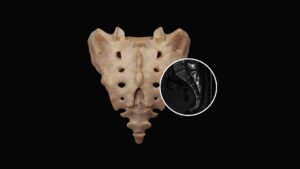
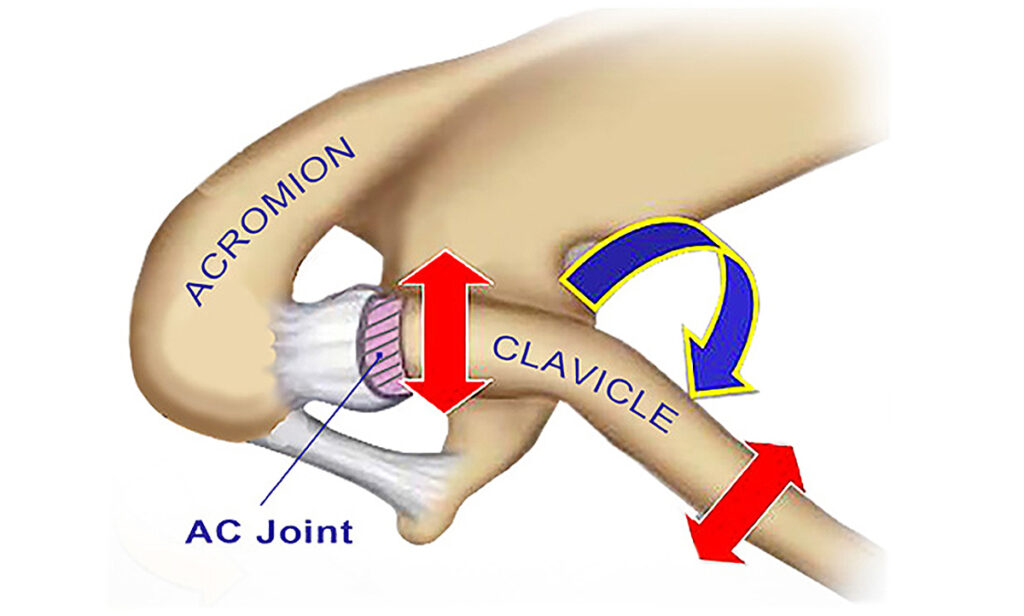
The AC joint sits on the point of the shoulder lateral to the sternoclavicular (SC) and proximal to the glenohumeral (GH) joint. Regrettably, this oft-overlooked bony articulation receives little respect from most manual therapists. Both the AC and SC joints play vital roles in the biomechanics of throwing and other upper-limb activities. AC joint impairment typically results from falling directly on the point of the shoulder or a direct clash of shoulders. Because the AC is such a small joint, some believe that the human shoulder girdle could function adequately without it… I disagree. As we will see, long-term AC restrictions can have devastating effects on all upper limb functioning.

Anatomy & Kinesiology
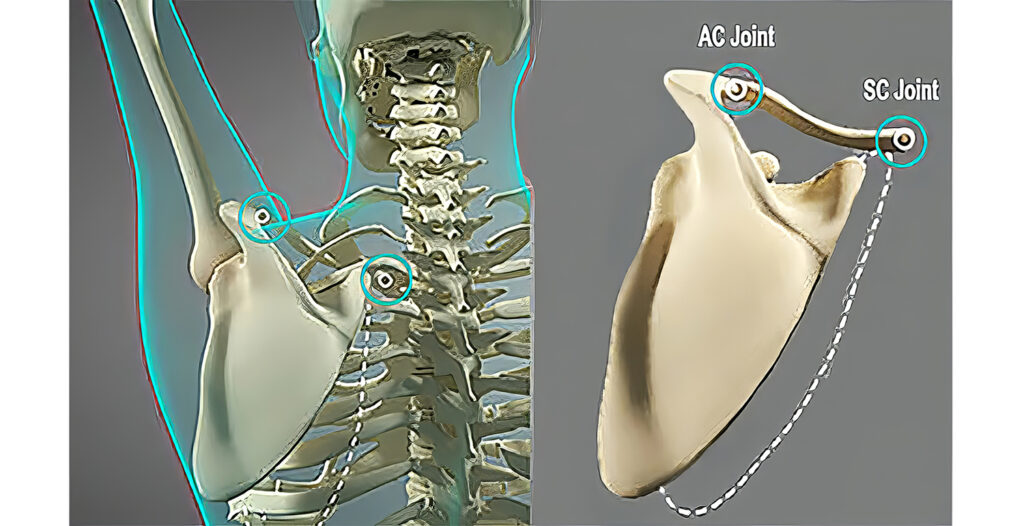
With only 20° of motion occurring at the AC joint during arm abduction (10° between 0 and 30° and the last 10 between 130 – 175°), it doesn’t appear significant. Yet, when you combine AC and SC joint movements, they allow the clavicle to posteriorly rotate 45° during arm elevation. This motion is extremely significant in client’s presenting with thoracic outlet syndrome and/or rotator cuff tendinopathy. For more details see this blog post: “Don’t Blame the Rotator Cuff.”
Testing & Correcting Internal, External & Abduction Restrictions
We’ll now address the three most common AC joint restrictions — internal and external rotation—and abduction (Image 2.). To test for internal and external rotational fixations, it’s important that the client’s elbow is flexed 90° — arm horizontally abducted 90° —and horizontally adducted 30°.
Note: Horizontally adducting the arm 30° is critical during this assessment since it close-packs the glenohumeral joint, allowing the therapist to isolate AC movement.
1. Internal Rotation Technique
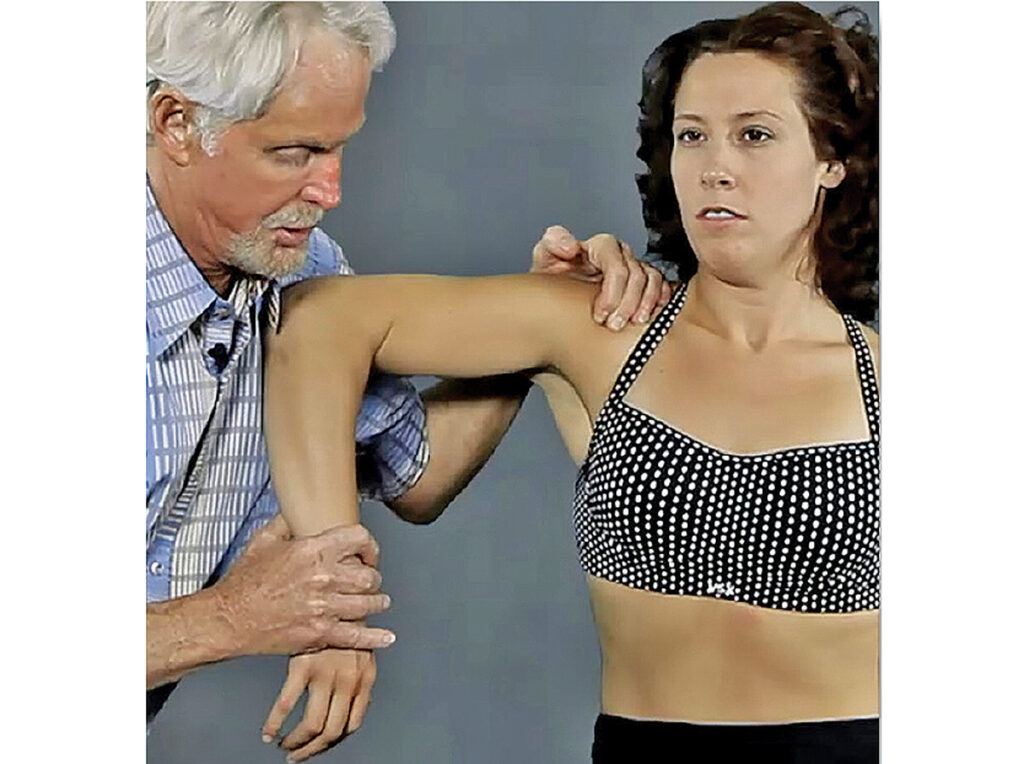
- Therapist’s left hand grasps medial to the AC joint and therapist’s shoulder braces client’s elbow
- Therapist’s right hand brings client’s arm down to the first internal rotation barrier
- The client attempts external rotation (pushes up) against therapist’s resistance (20% effort) to a count of 5 and relaxes
- Therapist brings client’s arm down to the next restrictive barrier
- Repeat 3 to 5 times and retest for improved internal rotation
2. External Rotation Technique
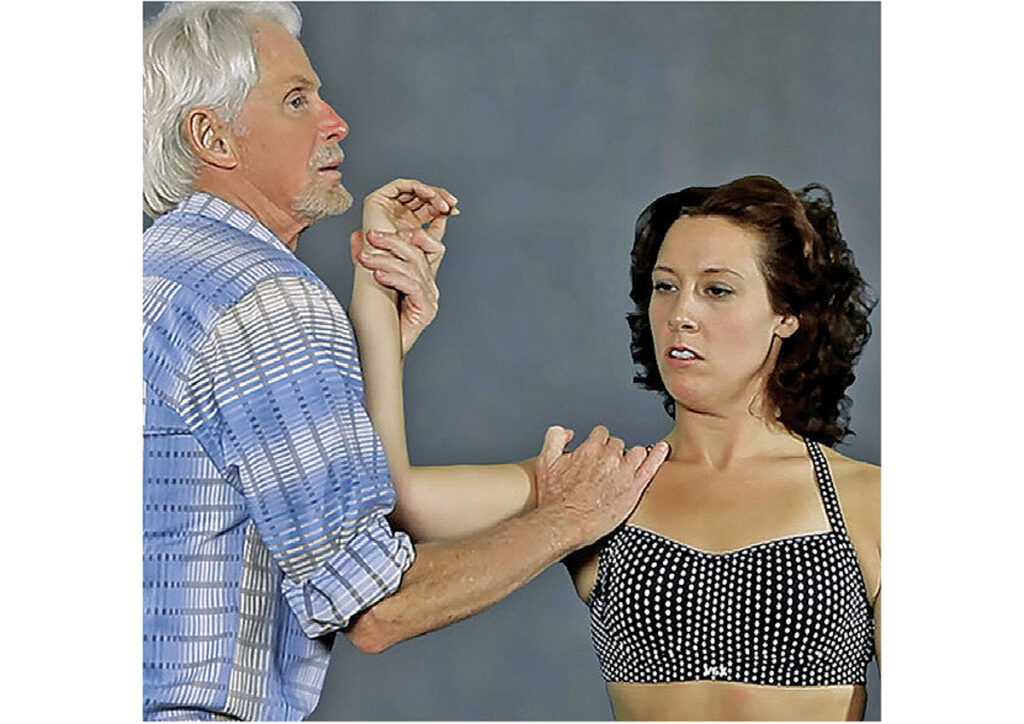
- Therapist’s right-hand grasps the AC joint and his arm braces at client’s elbow
- Therapist’s left hand brings client’s arm to the first external rotation barrier
- Therapist resists client’s attempt to internally rotate (pushing arm down) to a count of 5 and relaxes
- Client’s arm is brought up to the new external rotation barrier
- Repeat 3 to 5 times and retest for improved external rotation
3. Arm Abduction Technique
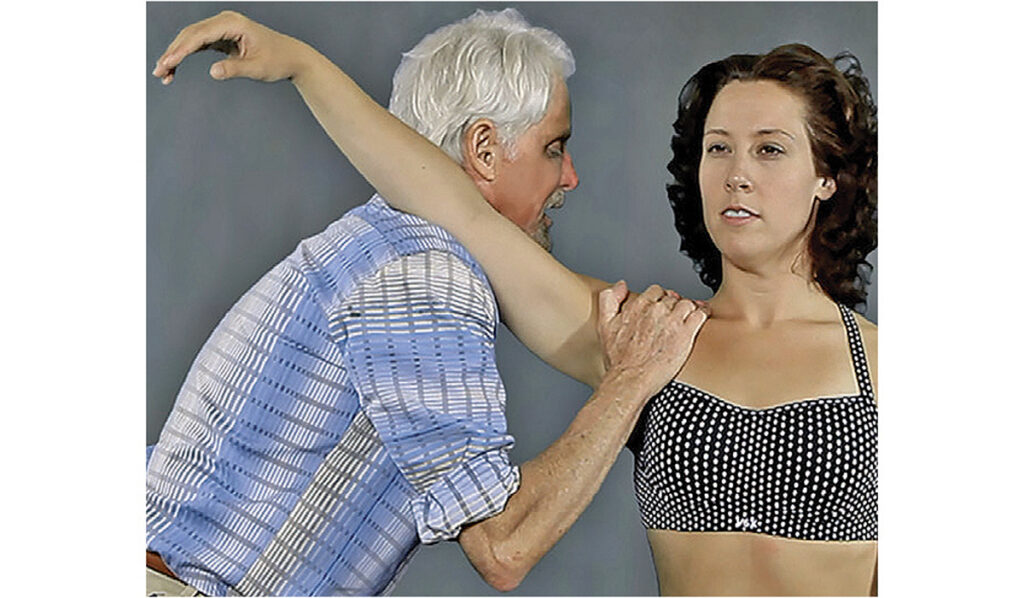
- The client’s right arm rests on therapist’s left shoulder and is brought into 30° of horizontal abduction
- Therapist bends his knees and his hands grasp medial to the acromion
- By slowly straightening his legs while bracing with his hands, a counterforce is created that brings the client’s arm to the first abduction restrictive barrier
- Client is asked to gently press down on therapist’s shoulder to a count of 5 and then relax
- Therapist extends his knees which brings the client’s arm up to the new abduction restrictive barrier
- Therapist repeats 3 to 5 times and retests for 175° of smooth, pain-free abduction
Summary
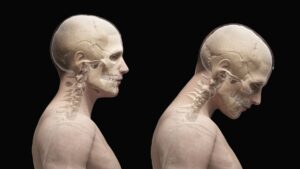
Since AC joint restrictions typically limit end-range elevation and cross-body adduction, they are commonly seen in long-standing rotator cuff and frozen shoulder dysfunctions. In my practice, I’ve found that sternoclavicular and acromioclavicular joint movements are typically altered in those suffering traumatic shoulder injuries and/or chronic suboptimal posture. Slumped posture often starts as a “tissue issue” due to tension, trauma, or overuse. However, it eventually manifests as a sign of functional weakness in the brain’s hardware. This weakness stems from faulty peripheral input, inaccurate cortical processing, flawed output, or a combination of these factors. Extremity joints set off mechanoreceptive muscle/joint reflex arcs that can travel up and down the kinetic chain producing reactive muscle guarding (splinting) in neighboring structures. Pain-spasm-pain cycles are often hard to break until full range of motion is restored to these commonly overlooked shoulder girdle articulations. Try these simple graded exposure stretches to improve range of motion with your thoracic outlet and rotator cuff clients and to enhance performance in your competitive athletes like DeAndre Hopkins.
On sale this week only!
Save 25% off the Dalton Technique Tour course!
NEW! USB enhanced video format
Discover deep tissue, pin and stretch, nerve mobilization, and graded exposure stretches in this comprehensive “technique only” program. Upon completion, you will receive 16CE hours and a certificate of completion to display in your office. Save 25% this week only. Offer expires Monday, January 19th. Click the button below for more information and to purchase the course.
BONUS: Order the home study version and get access to the eCourse for free!

